 Most people record at levels that are way too hot. Overly hot recording does audible damage on many levels, even if you don’t hear distortion while you are doing it. Here they are, in order of appearance.
But first, a quick primer on digital vs. analog metering.
On a digital machine, the top of the meter is just that. Try to go above it, and you will distort the signal. But on an analog machine, it’s not as easy to know where the top really is. There is a 0dB marking on the meter, and then there is another 3dB of markings beyond that, with the knowledge that one can maybe go even higher than that. How do these two different metering systems compare with each other? Depending on the individual unit’s calibration, the “top” of the digital machine is 14dB to 18dB higher than the 0dB marking on the analog machine. Does this mean you could (or should) using the apparent “extra” range? No, and this leads us to #1:
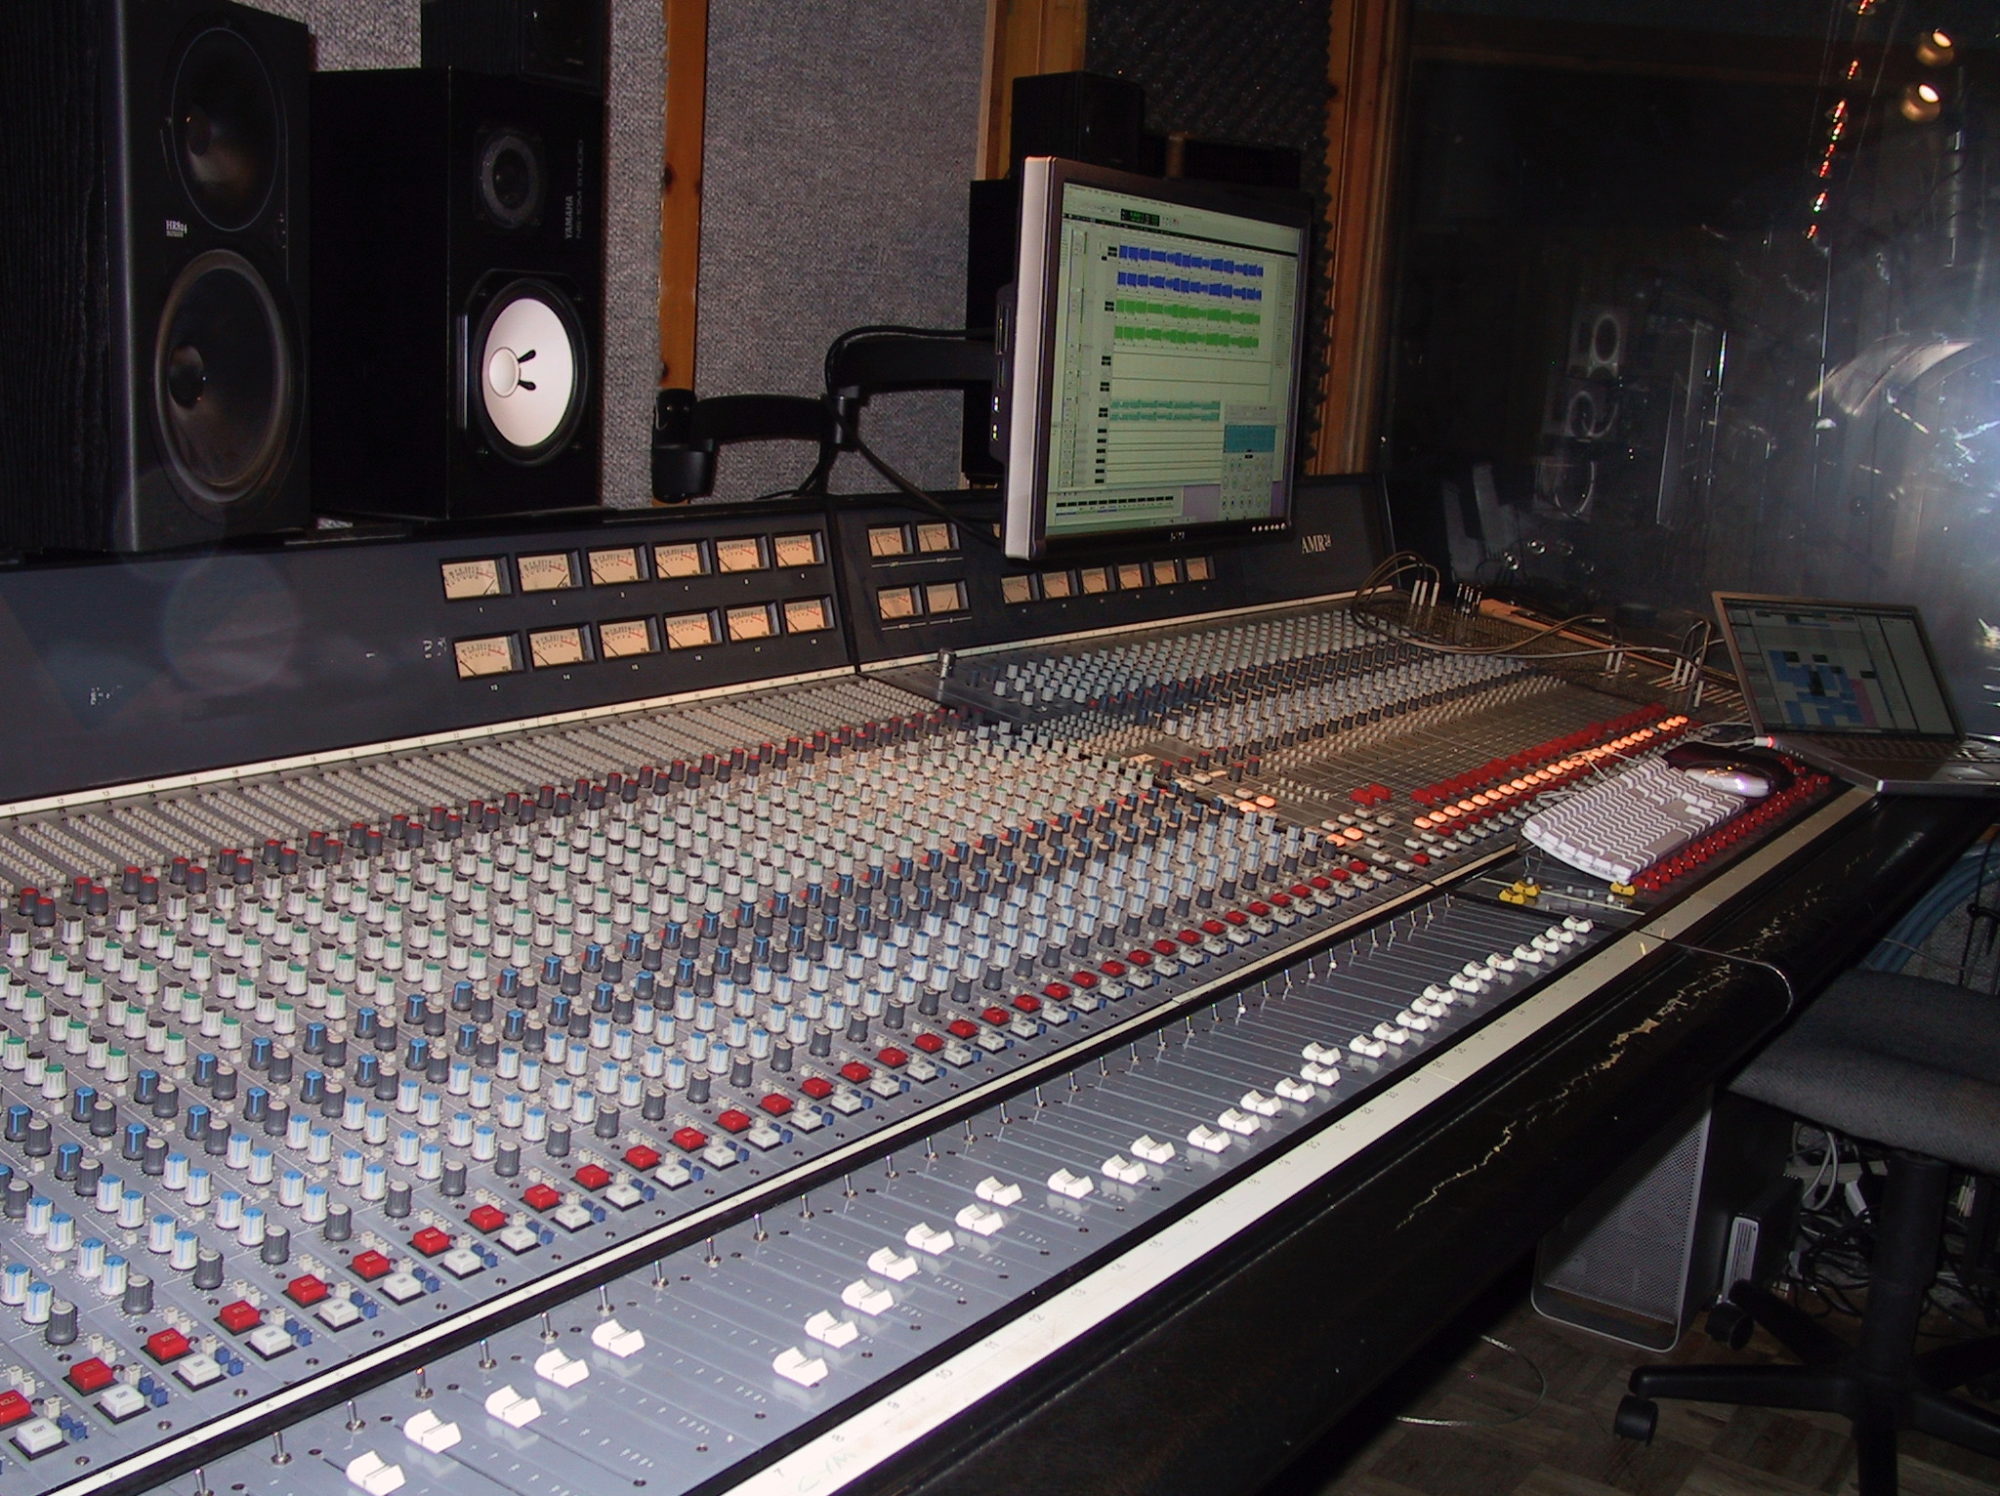
#1 – MIC PREAMP DISTORTION
If you are playing “pack the meter” on a digital machine (in other words, recording as close to the top as you can without going over), then you are running your mic preamps, compressors, and any other gear you are using PRIOR to the record inputs of your system, at maybe 10-15dB hotter than is was designed to do. You are certainly moving past it’s comfort zone, which potentially impacts transients and adds distortion. It’s like driving a car at ninety miles per hour all the time.
#2 – DIGITAL INTERFACE DISTORTION
Inputting overly hot signals will also assault the analog electronics in your convertor box, as well as the A-to-D convertors themselves. Some convertors do okay with this, but they tend to be the expensive ones.
#3 – PLUGIN DISTORTION
Now you’re in the system. What happens next? Your hot signal will now likely go through some plugins. Some plugins may well show clips lights lighting up. Clip lights indicate overload (of course). Plugin designers DO NOT intend for you to do this. For example, you can hit an LA2A plugin hard and get some kind of emulation of “tube saturation”. That is built into the modeling of the plugin itself. But pushing it until the clip light comes on IS NOT part of the design.
Now your are past the available headroom of the plugin, and you are clipping in the digital realm. It’s not emulated LA2A distortion anymore, it’s a clipped digital signal path. Even if you think you can’t hear it, it’s adding to the global downfall of your mix sonics.
To make matters worse, many plugins will ADD gain to your signal, will takes us to the MIX BUS.
#4 – MIX BUS DISTORTION
Here is where some serious damage gets done. Twenty or thirty channels of high gain tracks will kill the mix bus. Even if your individual channels show no clips, and your master fader shows no clips, the mix bus is still being slammed. Clipping in this place will rob your mix of transients, collapse your stereo image, and make for a small, ratty-sounding mix.
SOLUTIONS
1 – Don’t record at levels higher than -10dB, and in most cases, -15dB would be better still.
2 – if your tracks have already been recorded hot, use a destructive gain plugin to permanently change the track to a lower level. In Pro Tools, the (Audiosuite) GAIN plugin works well for this. Carefully monitor the level of the track (not the fader level, but the ACTUAL level of the track itself) until you have it down to a reasonable level. In Pro Tools, you can monitor the actual level by switching the fader reading to show “peaks” instead of “fader level”.
3 – Be careful to not add gain with plugins, and if you are using a plugin where that is unavoidable, then gain down the track an additional amount to compensate for it.
4 – Keep your individual faders low enough so that you don’t get clips on the master fader. But you were already doing that, right?
5 – If you want to make a LOUD mix for a CD, put a limiter plugin on the master fader and go to town. That is the place to get your hot level. That place and ONLY that place. Record and process your tracks at a reasonable levels, and then crank it THERE. With your tracks clean and transients intact, it’s not so hard to get it loud and still have it sound good.
NOTE: If you are planning on doing ANY additional work on the final mix (like mastering), skip the limiter. Limiting must be used LAST, and if your mix is going to be mastered, then your mix is not the last processing step. Failure to do this will yield a noticeably inferior end product.